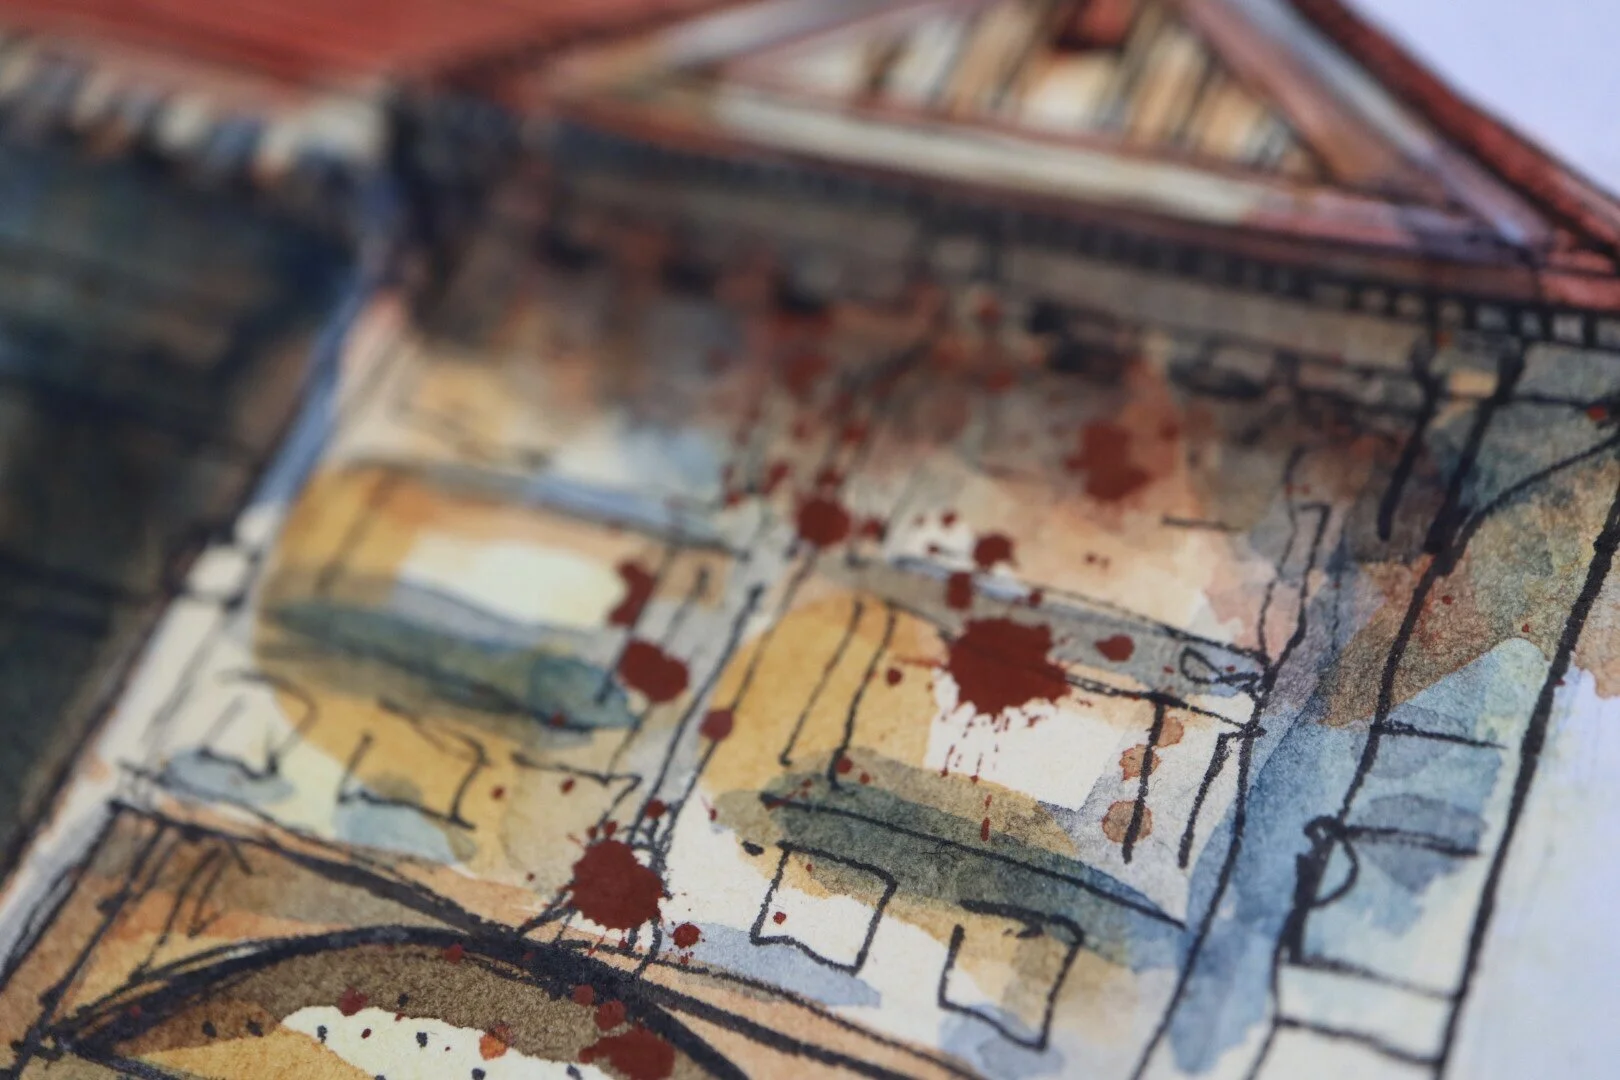
Today we revisit a few basic watercolor techniques - washes.
Using wet on dry and wet on wet approach, we look to create a watercolor look that will fit our style.
Here are a few samples: from top left - a wet on dry flat wash overlapping the bush strokes.
Top right - Wet on dry flat wash adding water to the second stroke and using gravity to create a gradient.
Bottom left - Wet on wet using gravity to move the pigment.
Bottom right - A mix of wet on wet and wet on dry with spatter and water flicked on with my fingers.
Watercolor washes using different techniques plus a little gravity.
Next step - We sketch out a thumbnail looking for the basic composition, basic structure, main lines and basic shapes that will give us a strong foundation.
Thumbnail sketch to understand structure and shadows.
After understanding the structure and light/shadow we draw with light pencil and avoid adding detail.
Second - we apply the chosen wash technique that will set the foundation for our color work all the way thru. This should be very light and not overworked.
Next - with a second layer of washes, we define the shadows and expand the color.
From here, choosing the right tool or pen to apply your ink lines is very important - and once again - avoid overworking, there will be more opportunities to come back later on and add lines as you need them.
Finally, finishing your watercolor touches to give the subject the character you are trying to express.
The main thing to pay attention to would be - Knowing how much is too much before you get there. You can pace yourself and develop line and color step by step to better understand where it is you want to go.
I hope you find this helpful - Now, let’s give it a try.


